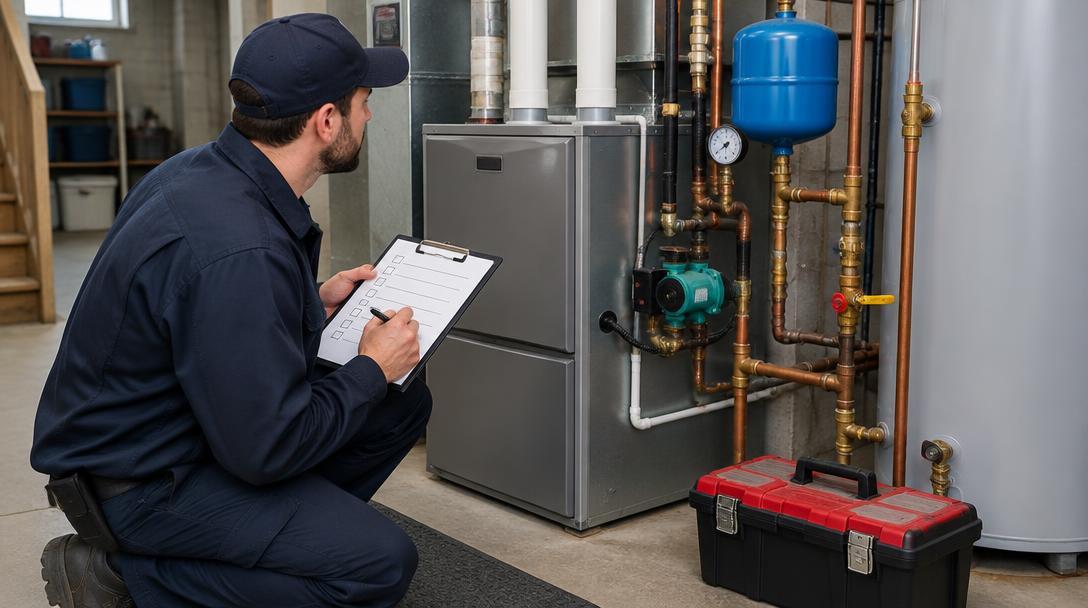
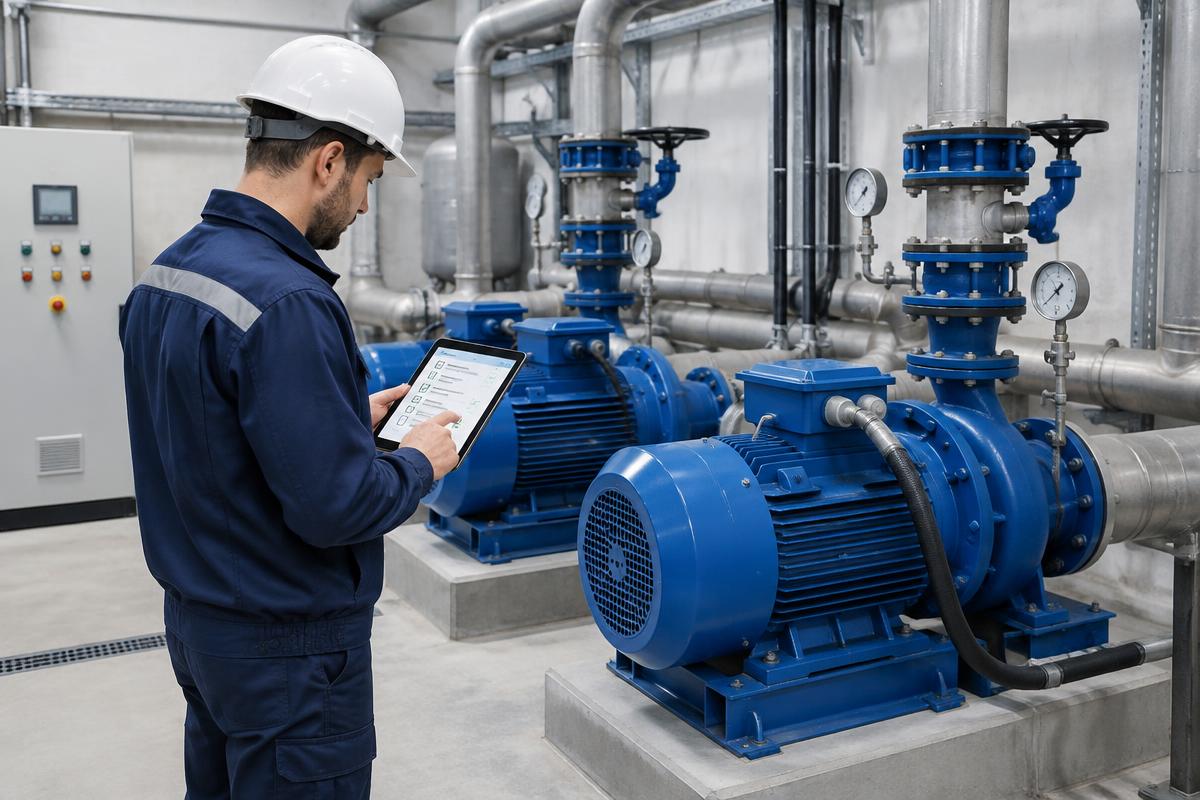
Proper winter heating preparation goes beyond just turning on the thermostat and waiting for the radiators to warm up. It requires checking the heat source, the hydraulic circuit, and the automation systems so that minor wear and tear can be identified before it develops into a failure. Ideally, the process should be carried out in early autumn, when there is time for repairs and spare parts.
The following list applies to homes with oil or gas boilers, as well as heat pump installations. It distinguishes between what the owner can observe and the tasks that should be handled by a properly licensed technician.
1. Initial installation check and history
Before any maintenance begins, the technician needs information about the system's performance during the previous winter. Frequent restarts, loss of pressure, noises, and rooms that do not heat up are useful diagnostic elements, not just annoyances.
- Maintenance history: gather previous maintenance reports, fault codes, and repair documentation.
- Visual inspection: look for moisture, rust, signs of leaks, and worn insulation on pipes and connections.
- Access: keep the area around the boiler, manifolds, valves, and electrical panels clear.
- Ventilation: do not cover boiler room ventilation openings or designated combustion air inlets.
- Fuel: for oil installations, check fuel levels, the condition of the tank, and any visible leaks.
The owner can record symptoms and photograph problematic areas. Do not remove device covers, interfere with electrical connections, or change burner settings. In apartment buildings, the building manager should ideally collect observations from multiple apartments, as a distribution problem is not always visible from inside the boiler room.
2. Maintenance of boiler, burner, or heat pump
Oil or natural gas boiler
Maintenance is scheduled according to the manufacturer's instructions and current requirements; in domestic combustion installations, it is usually carried out annually. It includes cleaning and checking the appropriate components, as well as verifying safe operation. Simply removing dust does not constitute complete maintenance.
- Check the exchanger, combustion chamber, electrodes, and safety devices.
- For oil, check filters, supply lines, and nozzles, replacing them where necessary.
- Check the tightness of the flue and the exhaust path by a qualified technician.
- Measure flue gases with a suitable analyzer and adjust combustion based on specifications.
- In condensing boilers, check and clean the siphon and condensate drain.
Ask for the required maintenance and inspection report, including measurements and observations. A carbon monoxide detector, suitable for home use and installed according to instructions, adds protection but does not replace maintenance.
Heat pump
Check the outdoor unit, the cleanliness of the coil, defrost water drainage, and free air circulation. Leaves and debris should be removed without interfering with internal components. Do not use a pressure washer on the fins. The technician also checks water filters, supply, and electrical components. Work on the refrigerant circuit should only be done by a properly certified professional.
3. Pressure, bleeding, and water circulation
The correct pressure is not the same for every home
In many closed-loop systems for small homes, the cold water pressure is around 1–1.5 bar. This is an indicative range, not a general rule: the correct value depends on the installation height, the expansion vessel, and the equipment specifications. Open systems have a different arrangement.
Record the pressure before startup and compare it once the system has warmed up. A significant rise, discharge from the safety valve, or repeated pressure drops require diagnosis. Continuously topping up water does not fix the underlying fault and introduces new oxygen and minerals into the circuit.
Bleeding radiators and checking components
If a radiator sounds like it is "gurgling" or remains cold at the top, it likely has air in it. Bleeding should be done with the system turned off, the circulator stopped, and the radiators sufficiently cool, according to the installation instructions. Open the bleed valve slightly with a suitable key and a collection container, without removing it. If you do not know the procedure or the component is stuck, call a technician.
- After bleeding, check the pressure again. Top up only from the designated point and according to instructions.
- The technician checks the expansion vessel with the water side isolated and depressurized.
- Check the circulator, safety valve, automatic air vents, and sediment filters.
- If nearby radiators heat up but distant ones do not, examine the hydraulic balancing.
Cold spots at the bottom of a radiator may be related to deposits or insufficient flow. Chemical cleaning is not automatically necessary; diagnosis and material compatibility checks come first.
4. Thermostat, temperatures, and test operation
Check the batteries, the time, and the weekly schedule on the thermostat. For many homes, an initial setting of 20–21°C in occupied rooms is reasonable, with adjustments based on occupant needs. The thermostat should not be affected by sunlight, drafts, or a nearby heat source.
Supply temperature needs to be adjusted based on the heating emitters and the building's losses. As a guide, underfloor systems often operate around 30–40°C, while conventional radiators may require 50–70°C on cold days. These are not universal settings: follow the design study and the manufacturer's limits.
- In condensing boilers, a lower return temperature is sought, provided comfort is maintained.
- In heat pumps, proper compensation (weather control) and stable operation are preferred, avoiding unjustifiably high supply temperatures.
- Thermostatic radiator valves should not be covered by curtains or furniture.
- Antifreeze protection must be checked, especially in outdoor piping and monobloc units. It may require a constant electrical power supply.
During the test run, confirm that all rooms are warming up, zones are responding, and there are no leaks, unusual noises, or error codes. The technician records the final settings and any pending issues.
5. Frequently asked questions
When is the best time to book maintenance?
Before daily use begins, preferably in early autumn. If there is an odor of exhaust fumes, a leak, or recurring system shutdowns, do not wait for the scheduled date.
Why does the pressure drop after bleeding?
Removing air and a small amount of water can reduce the reading. If the drop continues after restoring the target pressure, check for a leak or another fault.
Should I bleed the radiators every week?
No. Frequent air accumulation is not considered normal and requires investigation. Repeated bleeding and refilling may be masking a malfunction rather than solving it.
What do I do if I smell gas?
Do not light a flame or operate electrical switches or telephones inside the area. Get out and call the grid emergency service from a safe location outside, or call 112 if there is immediate danger. Do not attempt to restart the system.
Conclusion
A comprehensive heating checklist combines maintenance, water and circulation checks, correct settings, and an actual functional test. Keep a record of measurements, work performed, and observations. This way, the next inspection starts from specific data rather than assumptions.