
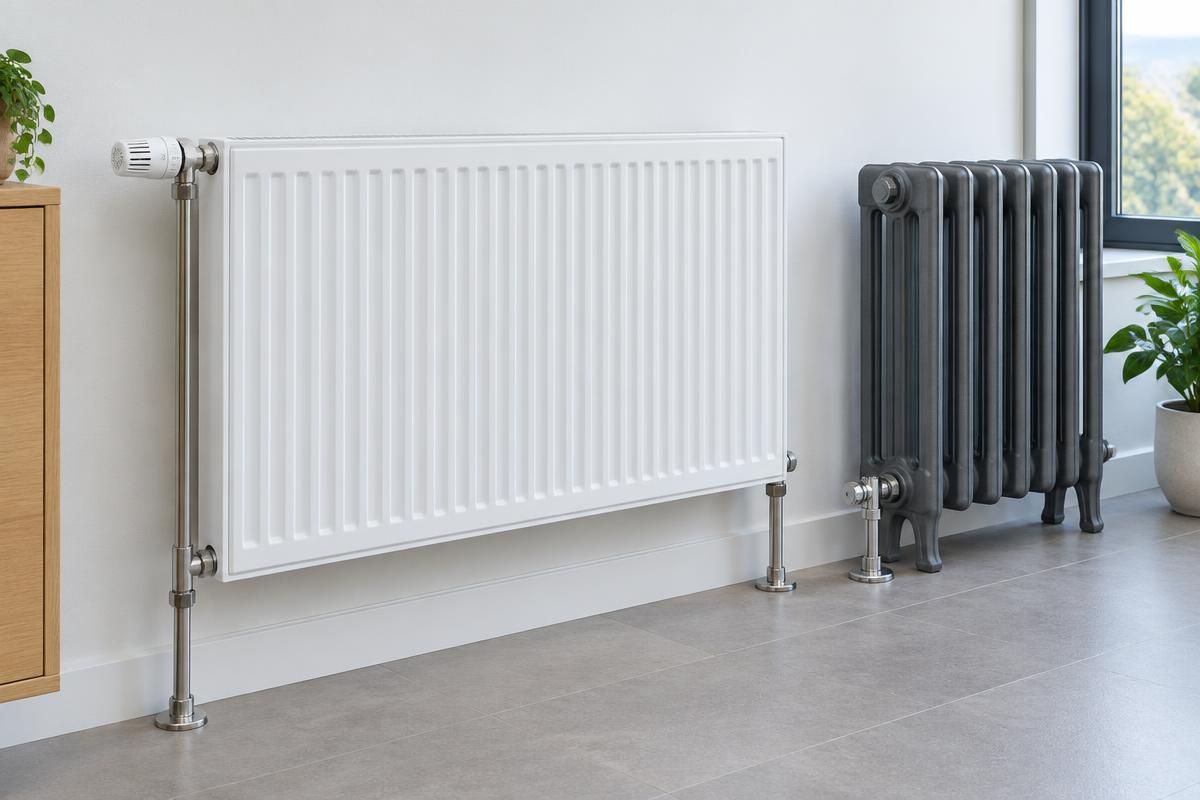
A radiator that gurgles or stays cold in certain spots does not necessarily need replacing. It may have trapped air, accumulated dust, or a water circulation issue. Radiator cleaning and bleeding are different tasks: exterior cleaning removes dust, bleeding removes air, and interior cleaning deals with deposits inside the circuit.
The first two tasks can often be performed by the owner, provided there is easy access and the installation instructions are followed. Disconnecting radiators and chemical flushing require a technician. Below is a practical guide for safe work, avoiding unnecessary interventions.
1. Identify the problem before starting
Observe the behavior of the radiators while the heating is on, without touching very hot surfaces. The temperature distribution provides clues, but is not enough on its own for a definitive diagnosis.
- Cold top section and water sounds: often suggest trapped air.
- Intensely cold spots at the bottom: may be related to sludge or restricted circulation. However, it is normal for the bottom to be cooler than the top.
- The entire unit is cold: check the manual valve, the thermostatic valve, the supply, and the operation of the corresponding zone.
- Nearby radiators heat up, distant ones do not: hydraulic balancing may be required instead of bleeding.
- Dust between the fins: requires exterior cleaning so that natural air circulation is not obstructed.
If the boiler shows a fault, the pressure drops consistently, or there is a visible leak, do not treat bleeding as a universal solution. Check the installation first.
2. Preparation and exterior cleaning
Turn off the heating via its control and wait for any circulator post-circulation to finish. Let the radiators cool down sufficiently. In an apartment building with central heating, coordinate with the building manager to stop circulation before bleeding.
What you will need
- A radiator bleed key suitable for the vent or a screwdriver, only if specified.
- A small container, absorbent cloth, and floor protection.
- A vacuum cleaner with a narrow nozzle and a long, soft radiator brush.
- A microfiber cloth, some mild detergent, and work gloves.
Start with the vacuum on the top, bottom, and back of the unit. Pass the brush between the fins, guiding the dust towards the bottom, where you can vacuum it up. For panels, remove the decorative top grille only if you know how it is fastened and the manufacturer allows it.
Wipe the exterior surfaces with a slightly damp cloth and dry them. Avoid steel wool, corrosive cleaners, and excess water. Do not spray electronic thermostatic heads or heat cost allocators. For electric and hybrid bathroom radiators, additional isolation of the power supply is required according to their instructions.
3. Radiator bleeding step-by-step
The manual vent is usually located high up on the side of the radiator. Do not confuse it with the plug, the connection union, or the return valve. If it is rusty, leaking, or does not turn easily, stop and call a technician.
- Step 1 — Open the radiator setting: set the thermostatic head to the maximum position or open the standard supply valve. Do not change the return valve setting, as this may affect balancing.
- Step 2 — Protect the area: place a cloth and container under the outlet. The water may be dark and stain.
- Step 3 — Open the vent slightly: turn the screw slowly, usually counter-clockwise, just enough to hear the air. Often about a quarter turn is sufficient. Do not remove the screw.
- Step 4 — Wait for the air to be released: keep your face and hands away from the outlet. Initially, air may come out, followed by water with bubbles.
- Step 5 — Close once the water stabilizes: when a continuous flow appears without air interruptions, close gently. You do not need to drain a large amount of water or overtighten.
- Step 6 — Check for leaks: dry the area and observe if a new drop forms.
In a multi-level autonomous installation, a practical sequence is from the lowest to the highest radiators, unless specified otherwise by the installer. The most important thing is to check all radiators and monitor the pressure. If neither air nor water comes out, do not keep unscrewing: there may be insufficient pressure, isolation, or a clogged vent.
4. Pressure check and operation test
Bleeding can lower the pressure of a closed circuit. In many small residential installations, the indicative pressure with cold water is approximately 1–1.5 bar, but this is not a universal rule. The correct value depends on the installation height, the expansion vessel, and the equipment specifications.
Check the pressure gauge before, during if you are bleeding many radiators, and after the work. Refill water only if you know the correct procedure and the filling arrangement of the specific system. Follow the manual and close the manual filling valve completely after use. Do not tamper with communal automatic filling or boiler room settings.
Reset the heating and thermostatic heads to the desired positions. Let the system run until it stabilizes and check temperatures, noises, and connections. The pressure usually rises as the water heats up. A sudden spike near the operating limit, discharge from the safety valve, or repeated drops require a technical check.
5. When is internal cleaning needed?
Bleeding does not remove sludge, magnetite, or other deposits. Persistently cold areas, reduced flow, and frequent filter clogging are reasons for investigation. Dark water alone does not prove that a general chemical flush is required.
The technician first checks valves, the circulator, filters, and balancing. If deposits are confirmed, they will choose local flushing of a disconnected unit or cleaning the entire circuit with appropriate equipment and materials.
- Cleaners must be compatible with the metals, seals, and heat exchanger.
- Flushing and refilling should follow the manufacturer's water quality requirements.
- Any corrosion inhibitor must be used in the correct concentration, not by rule of thumb.
- A magnetic filter can trap ferrous particles but does not replace diagnosis and maintenance.
Do not pour vinegar, bleach, or drain cleaner into the circuit. Also, do not unscrew unions to "flush" an installed radiator: there is a risk of burns, flooding, and loss of tightness.
Frequently Asked Questions
How often is bleeding needed?
Check the radiators at the beginning of the heating season and after emptying or working on the network. Bleeding is necessary when there are signs of air, not necessarily every month.
Can I bleed with the heating on?
For safe manual bleeding, stop the heating, wait for the circulation to stop, and let the radiators cool. This avoids the ejection of very hot water.
Why does the air return after a few days?
There may be a leak, insufficient pressure, a problem with the expansion vessel, or another malfunction. Continuous bleeding and refilling of water is not a permanent solution and introduces new oxygen into the circuit.
Why does the radiator stay cold after bleeding?
The thermostatic valve may be stuck, the supply may be restricted, or balancing may be required. If water comes out of the vent immediately without air, repeating the process usually does not help.
Conclusion: Clean the dust, bleed only under safe conditions, and check pressure and tightness. If symptoms persist, seek a targeted diagnosis instead of constant water refilling or unnecessary interventions.