
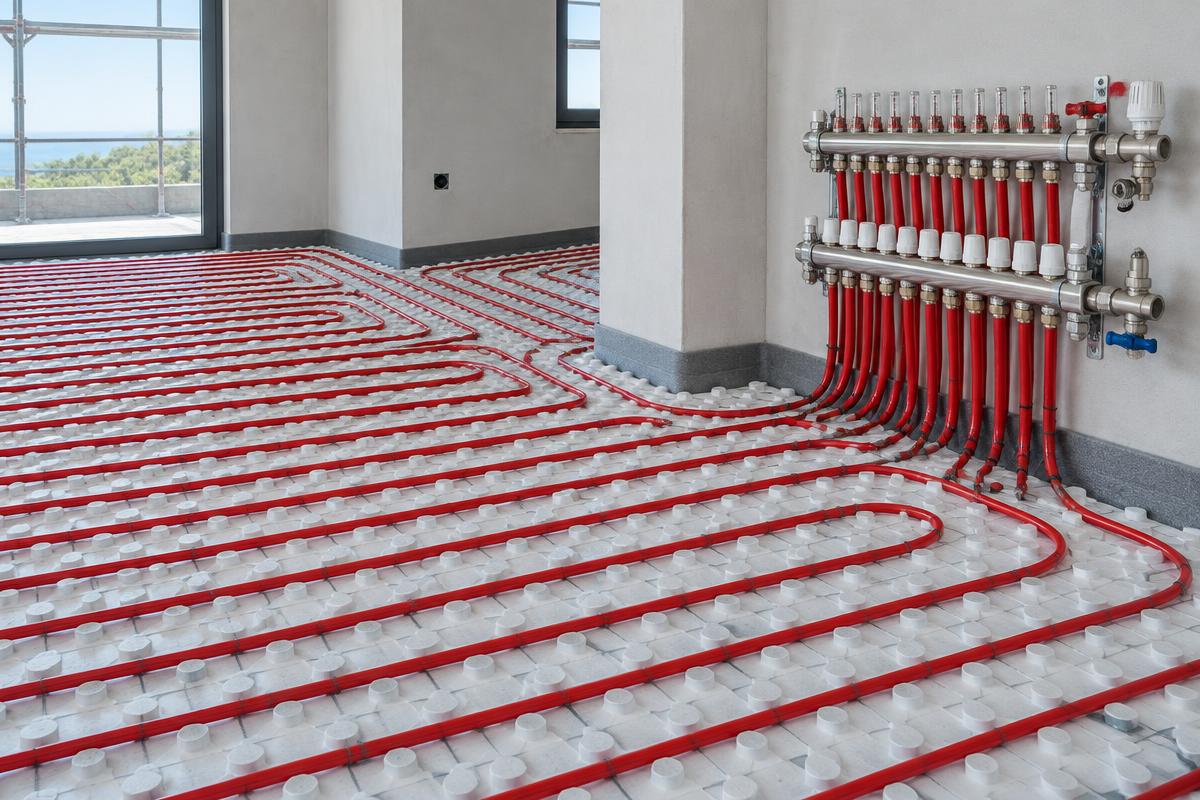
What do we mean by the “depth” of underfloor heating pipes?
In hydronic underfloor heating, pipes carry hot water beneath the final floor surface. The question “at what depth are the pipes laid?” does not have one answer for all installations. First, it must be clarified where we are measuring from: from the final screed, from the top side of the cement screed, or from the base of the system.
The fundamental dimension in conventional wet-build systems is the coverage above the pipe: the distance from its external top surface to the top surface of the heated screed layer. This does not include the tile, adhesive, or other final flooring.
A different dimension is the total construction height of the underfloor heating. This may include base leveling, thermal insulation, fastening system, pipe, mortar, and final flooring. This distinction matters when checking doors, balcony doors, steps, and connections with adjacent spaces.
- Pipe coverage: the thickness of the mortar above its top.
- Thickness of the heated layer: includes the zone where the pipe is located.
- Depth from the final floor: additionally includes the adhesive and the flooring material.
- Total system height: concerns the entire layering, from the base to the final surface.
How many centimeters of coverage are usually needed?
In a typical construction with a pipe of 16 mm outer diameter and conventional cement mortar suitable for underfloor heating, a coverage of approximately 45 mm above the pipe is frequently encountered. This is an indicative construction dimension and not a universal rule. The required thickness is determined by the specific mortar, mechanical strengths, usage loads, and system specifications.
For example, if the 16 mm pipe starts exactly above the insulation reference plane, a 45 mm coverage provides a total heated layer thickness of approximately 61 mm. If 12 mm is added for tiles and adhesive, the top of the pipe is located approximately 57 mm below the final surface. The geometry of the support plate can vary the calculation.
With thermal insulation and final flooring, the total construction height of a conventional solution can indicatively be in the range of 8–12 cm or more. This is not a minimum or maximum limit: increased needs for thermal insulation or leveling may require a greater height.
There are also special self-leveling mortars, low-profile renovation systems, and dry-build solutions with heat distribution plates. They can operate with different, often smaller thicknesses. However, their requirements apply to the specific integrated construction; they cannot be arbitrarily transferred to a conventional cement screed.
Why does depth affect operation and durability?
The mortar around the pipes acts as a means of heat transfer and storage. As its thickness increases, the thermal mass usually increases as well. The floor needs more time to heat up, but it continues to provide heat for a longer period after the supply is cut off.
This means that a thicker construction responds more slowly to thermostat changes. It may offer stable thermal comfort during continuous operation, but it does not favor large and frequent changes in the desired temperature. A thinner, properly designed solution usually has a faster response, without this automatically implying lower consumption.
Coverage also helps in the lateral diffusion of heat, limiting temperature differences between the zones above the pipes and the intermediate points. Uniformity depends simultaneously on the pipe spacing, the thermal conductivity of the mortar, and the flooring.
Excessively small coverage, when not provided for by the system, can increase the risk of cracks and local stresses. Correspondingly, an unjustifiably large thickness adds weight and thermal inertia. The right choice balances thermal behavior and mechanical strength, rather than just seeking the smallest possible height.
How are thickness, insulation, and final flooring connected?
The pipe depth is not evaluated alone. The thermal insulation under the system limits heat flow towards the slab and underlying spaces. If it is insufficient, changing the coverage does not solve the problem. Special attention is needed above unheated basements, pilotis, or floors in contact with the ground.
Tiles and natural stone generally transfer heat effectively. Wood, laminate, and certain flexible coatings exhibit different thermal resistance and temperature limitations. The combination of flooring, adhesive, and substrate must always be checked, not just the indication that a material is suitable for underfloor heating.
Greater thermal resistance above the pipes may require higher water temperature for the same thermal output, within the permitted operating limits. This is particularly important with a heat pump, as operating at lower supply temperatures usually favors its efficiency.
The study must therefore combine the thermal losses of each room, the pipe installation pitch, circuit lengths, flow rates, and the final layering. If a room is not thermally covered, arbitrarily reducing the coverage is not a safe corrective solution.
What must be checked before covering the pipes?
Before screeding, an agreed-upon construction cross-section with clear levels and thicknesses is needed. This avoids the common failure of reducing mortar at the last minute because a door does not open or a height difference with another room arises.
- Substrate and insulation: stable, appropriately leveled base and insulation boards with sufficient resistance for the intended loads.
- Pipe fastening: preventing them from moving or rising during screeding, so that the planned coverage is maintained.
- Leak testing: completion and recording before covering, while maintaining the required pressure status according to the system instructions.
- Perimeter tape and joints: provision for thermal expansion and appropriate protection where pipes are allowed to intersect with joints.
- Mortar: use of material suitable for heated floors, without arbitrary changes in composition or mixing water.
After screeding, the required curing and the prescribed initial heating protocol follow. Heating should not be activated prematurely to “dry the floor faster.” Before installing sensitive flooring, residual moisture must be checked using the appropriate method. Photographic documentation of the piping is also useful, without being considered a substitute for locating before future drilling.
Frequently Asked Questions
Is 3 cm above the pipe enough?
Not as a general rule. Such coverage may be provided for in certain special mortars or systems, under specific conditions. It requires confirmation from the technical documentation and the study, not empirical application to any construction.
The shallower the pipes, the less the heating costs?
Not necessarily. Smaller thickness usually reduces response time. Consumption depends primarily on building losses, insulation, operating temperatures, control, and the efficiency of the heat source.
Can underfloor heating be installed without raising the floor too much?
Yes, with an appropriate low-profile or dry-build system. However, the existing base, available thermal insulation, loads, and required output must be checked. Low height does not eliminate these requirements.
Can I drill the floor if I know the coverage thickness?
The nominal thickness does not guarantee a safe drilling depth, because there may be local deviations. Before any work, locating the pipes and checking by a qualified technician is required, especially near the manifold where pipes are dense.